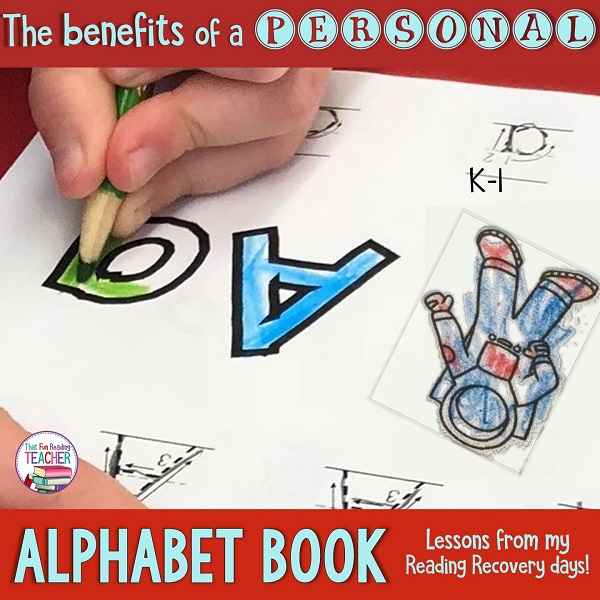
When children learn to write, many struggle with moving beyond attempting the first letter of a word, or copying something down. While more confident students will ‘stretch out the word’, others need a more visual, concrete strategy. It wasn’t until I was teaching (and being trained in) Reading Recovery that I learned to teach students about to hearing the sounds in words using Elkonin sound boxes.
What are sound boxes? When are they used?
‘Elkonin’ or sound boxes are used worldwide and taught as Reading Recovery™ procedures, along with the use of a personal alphabet book, to help children make the connection between the sounds they hear in a spoken word and the letters that represent those sounds in print. They are effective in helping students who are early in their literacy learning stretch out and hear the sounds in short words.
What can go in each box? What about digraphs and other combination sounds?
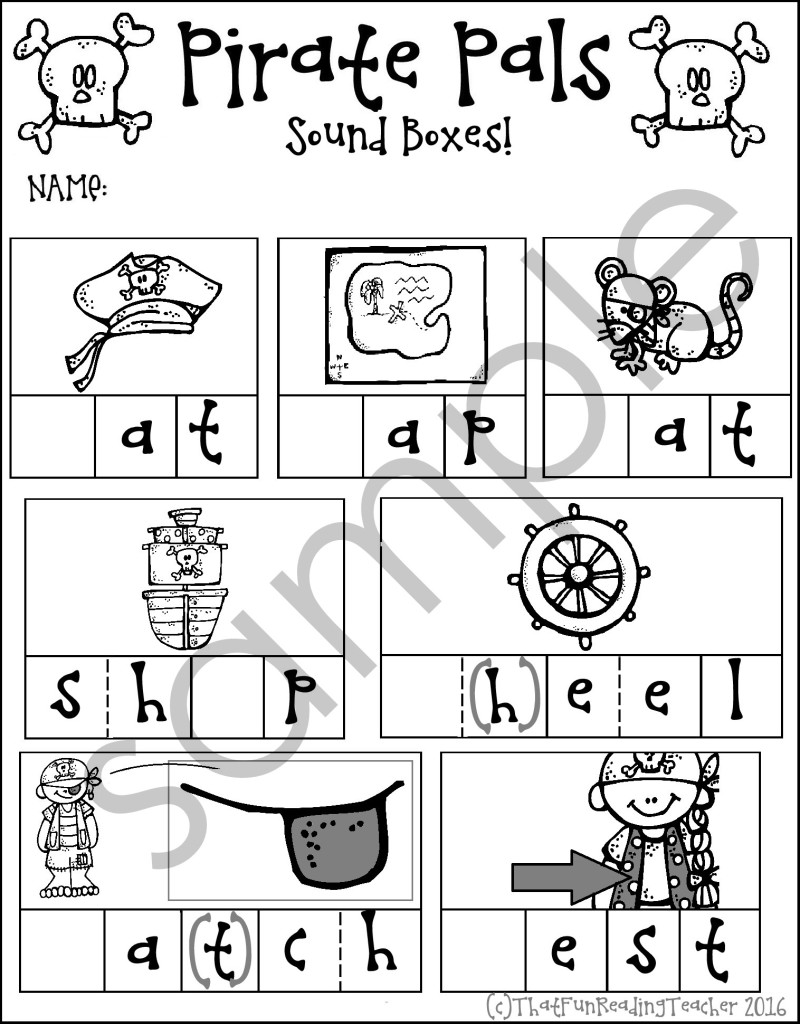
Each box represents a sound in a word. If two letters make one sound, they go into the same box. Digraphs and vowel combinations are a good example of this.
Can students use sound-boxes independently?
It is important to start with short, simple words in order to learn the procedure and consolidate basic phonetic skills (consonants and short vowels) before moving on to words with letter combinations and exceptions.
Teaching students how sound boxes work, modeling their use and practicing them together are important before expecting them to use them in their writing.
Many students do use sound boxes independently. Providing them with a place to do their ‘solving’ (draw sound boxes, etc.) and prompting with phrases like ‘You know how that word starts’ and ‘Draw your boxes – it has three sounds’ helps!
Here is a playlist of teachers explaining and using Elkonin boxes:

Step by step guide to using sound boxes:
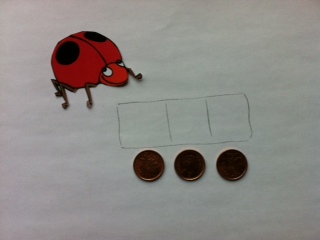 |
1. Say the word slowly (bug), stretching out the three sounds in the word, and ask the child to repeat it. Point out the pennies and tell the child that the word ‘bug’ has three sounds in it. Reinforce that the left side is the ‘starting’ side. (A green dot or arrow helps for those who get confused). |
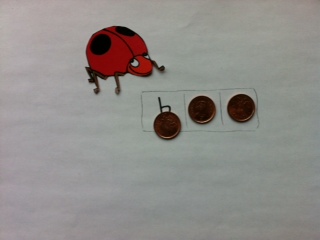 |
2. Using one finger, repeat the word as you slide the pennies (or other small, weighted object) into the boxes. All pennies should be in the boxes by the time you finish saying the word. The child does this next, listening for sounds as each penny slides in. Record the letter sound in its appropriate box. |
 |
3. Line all three pennies up again, and repeat, listening for sounds. Ending sounds are easier to hear than middle, vowel sounds. Beginners will probably hear the final sound of a word next. Record it. |
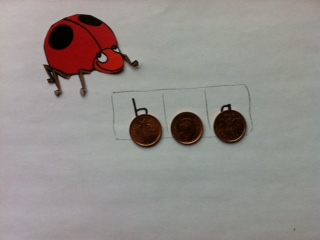 |
4. Repeat the procedure. Vowels are difficult, and it is fine to fill it in for a child who is just mastering consonants. Once beginning and ending sounds are in place, emphasizing the middle part of the word can help a child identify the vowel sound. |
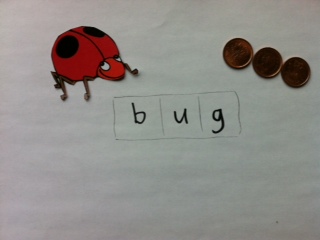 |
5. Put it all together. With a pointer finger, sweep under the letters from left to right saying the word slowly and looking at the letters while reading the word. Together these letters spell ‘bug’. |
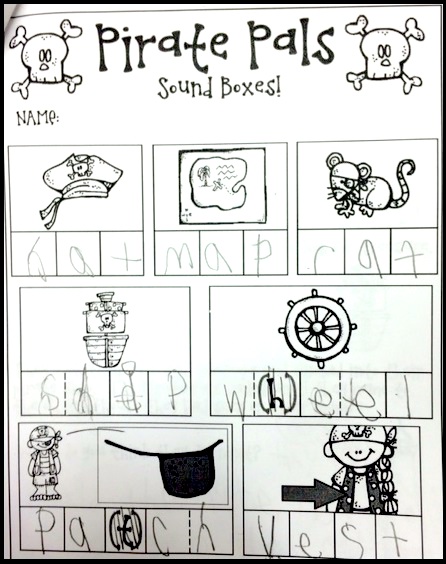
For products using sound boxes with three levels of support, check out the Read & Write & More section of my TpT store. Examples from the Read and Write and More – Pirates are included below.
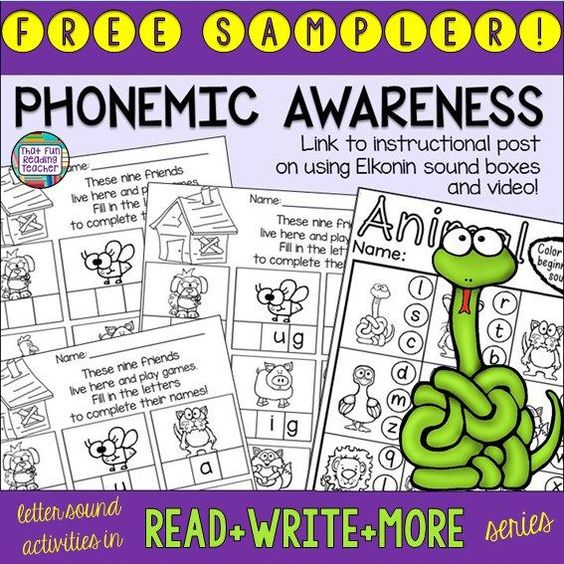
To try a free sample practice pack of the differentiated sound boxes in my Read and Write and More sets, check out below!
Related:
You may also like:


Leave a Reply